


Process Builder
The Process Builder module allows users to define processes effortlessly, without writing a single line of code. By simply adding steps with predefined actions, users can configure whether the execution of each step is synchronous, asynchronous, or scheduled. Additionally, the Process Builder enables the definition of system actions to be executed at every step, such as record updates, notifications, external integrations, or task assignments. This intuitive approach ensures flexibility and efficiency in process design, catering to both simple and complex business requirements.
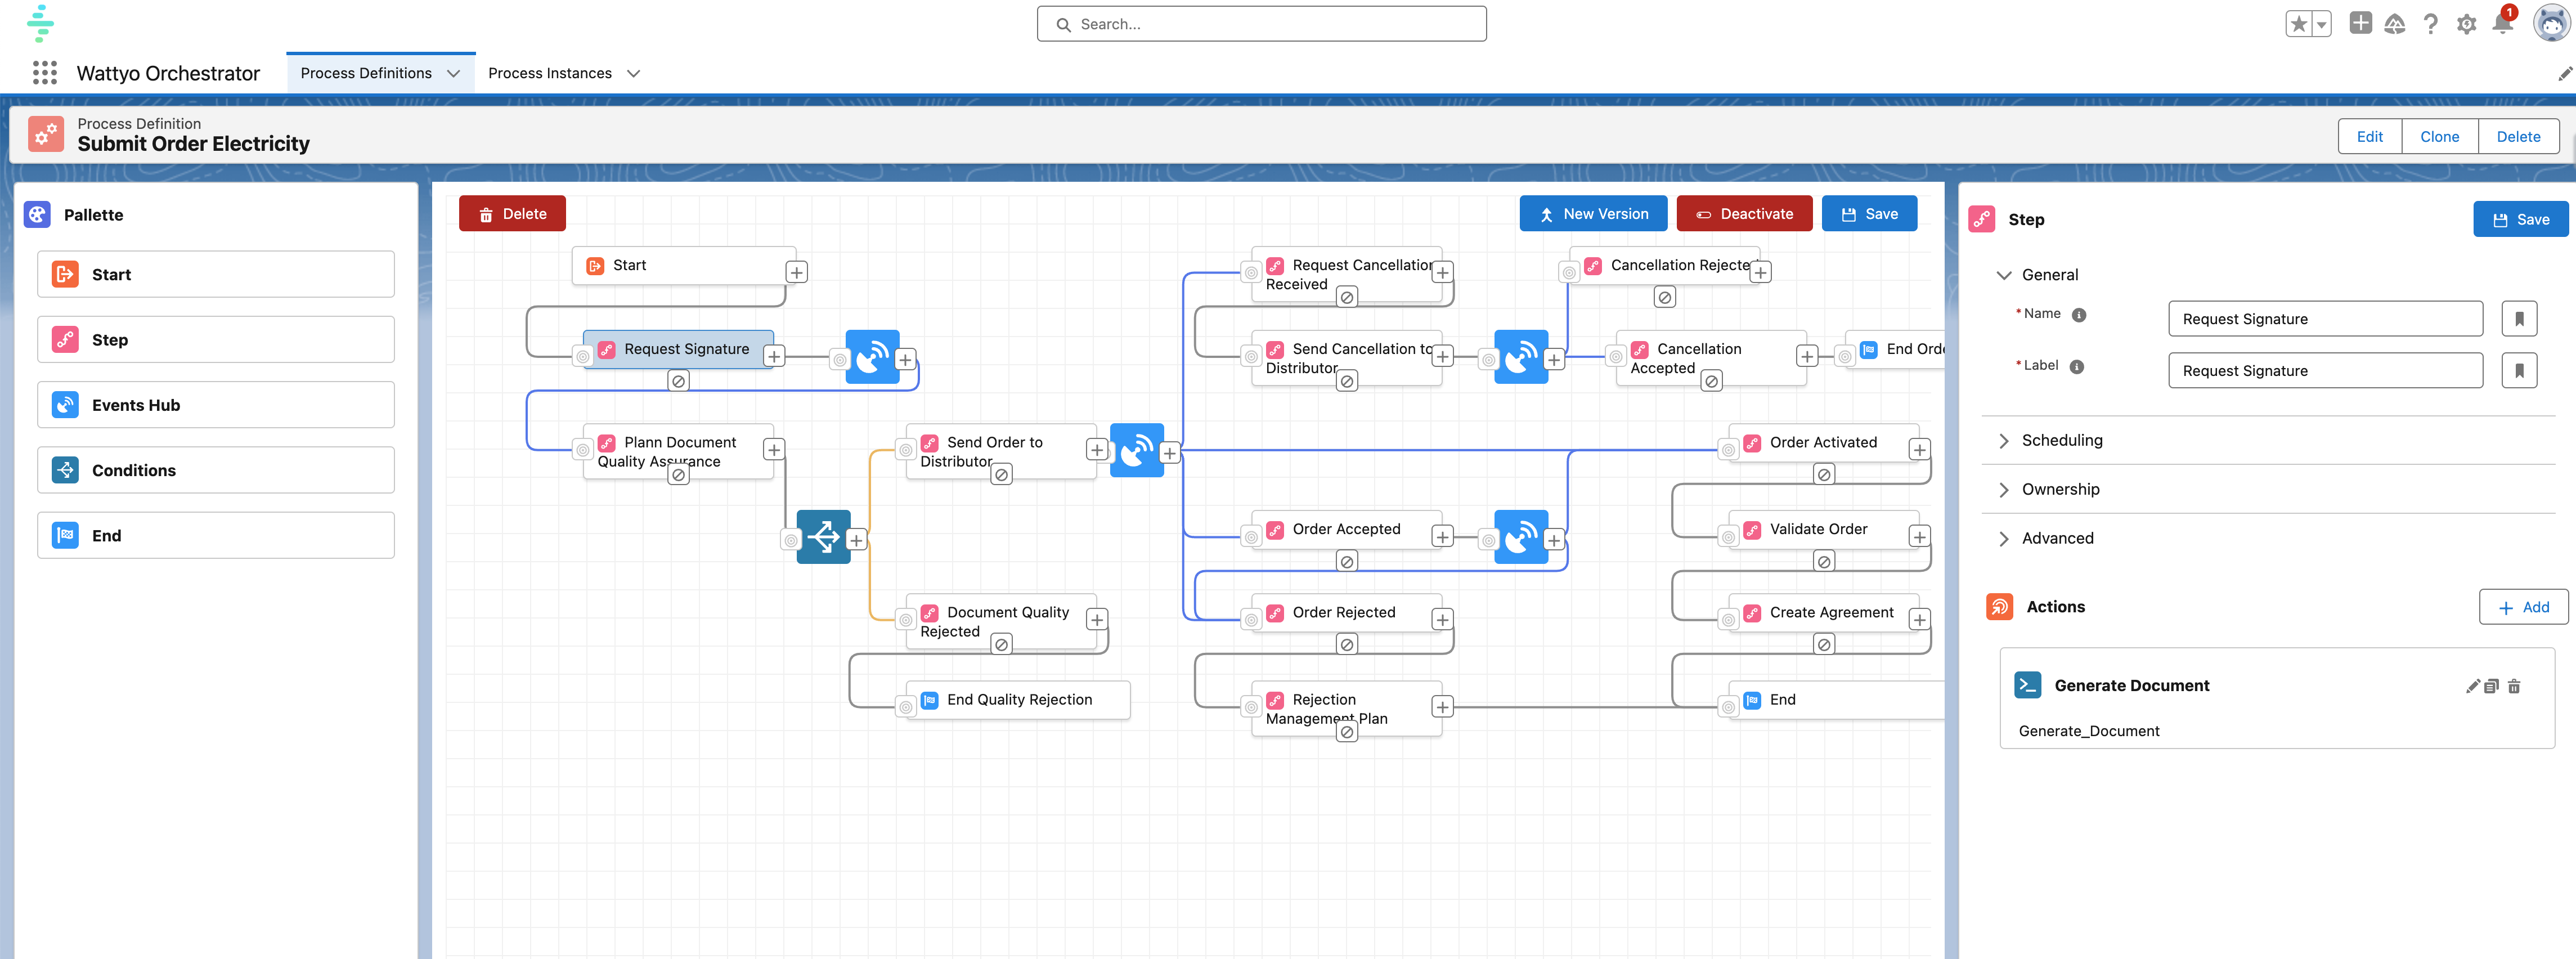
The interface is divided into three main areas:
- Left Sidebar: Contains the elements that can be added to the process flow.
- Main Screen: The workspace where the process flow is defined and visualized.
- Right Sidebar: Used to configure and define properties for each element and connection within the process flow.
Left Sidebar

The left sidebar contains all the elements that can be used in the process. When starting a new process, we always have a Start and an End step by default. However, these can also be added manually. Below are the available elements that can be dragged and dropped onto the main screen:
Start
- The first step of every process.
- A process must have only one Start step.
End
- At least one End step is required in a process.
- Multiple End steps are allowed, each with a different completion message.
Step
- This element performs actions within the process.
- A Step can execute multiple actions grouped together.
Events Hub
- This element waits for an event to trigger its execution in the process.
- Events can be fired from any part of the system.
Conditions
- This element determines the flow of the process, directing it to different steps based on the conditions defined in the connectors originating from it.
- Conditions are not standalone elements but are used to link different steps.
- To connect two steps:
- Click on the cross that appears on the right side of the source element.
- Then click on the cross on the left side of the target element.
Main Screen
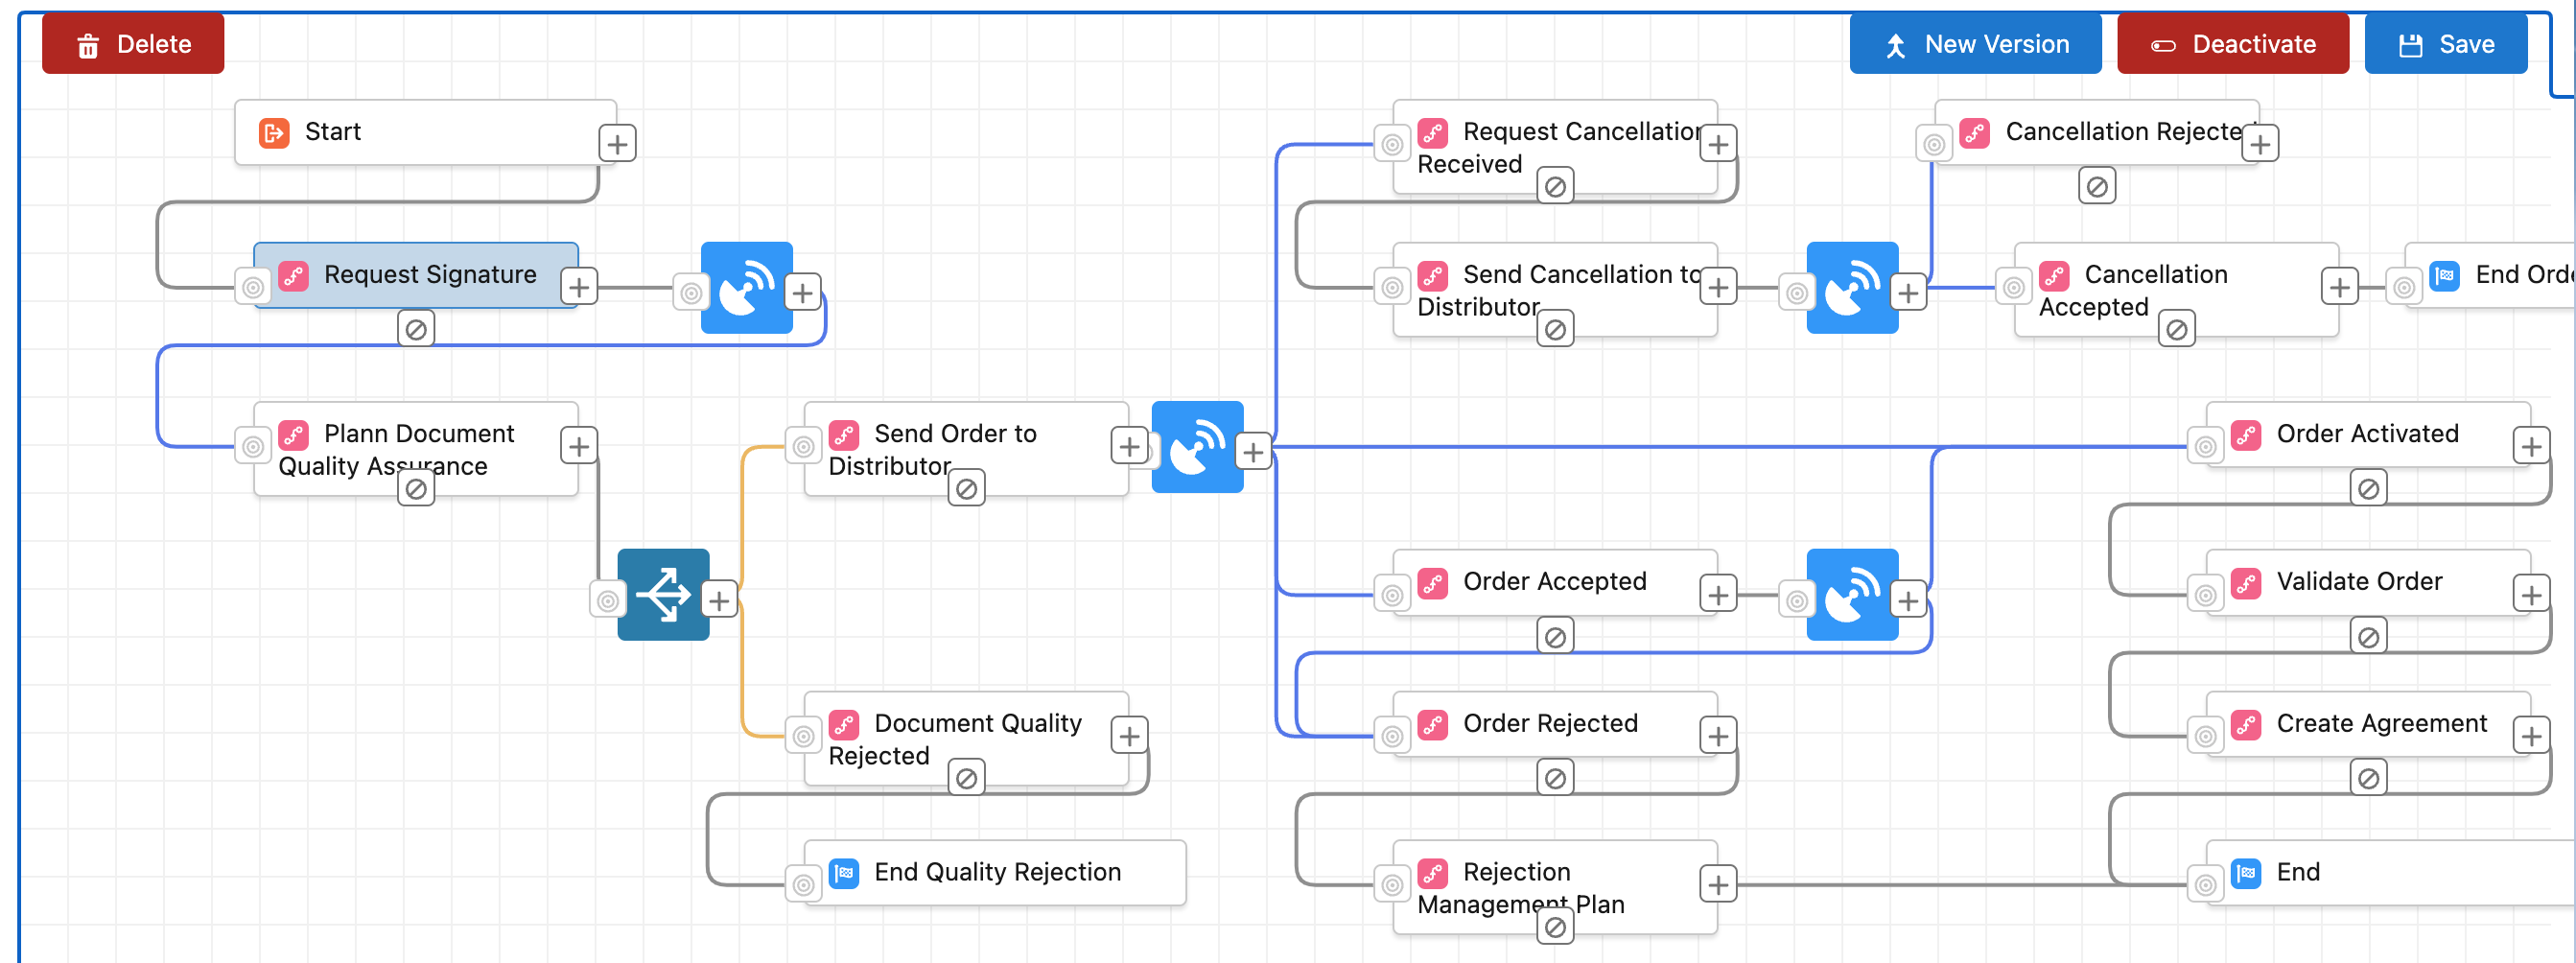
The main screen is the workspace where the process flow is defined and managed. Users can add, move, configure, and connect elements to build or modify their processes.
Controls
Zoom
- To zoom in or out, press the Alt key and scroll using the mouse wheel.
Select and Move Items
- Click on an item to select it and drag it to reposition it on the main screen.
- The selected item’s properties will appear in the Right Sidebar for configuration.
Pan the Main Screen
- To move the entire view of the main screen, press Alt + Right Mouse Button and drag the mouse.
Configuration
Connectors
- Connectors (conditions) link steps within the process and direct the flow based on the defined rules.
- Their properties can be configured in the Right Sidebar.
- Connectors can be deleted like regular elements.
- To connect two steps:
- Click on the cross that appears on the right side of the source element.
- Then click on the cross on the left side of the target element.
Delete Items
- To delete an item or connector, select it and press the Delete button.
Save
- The Save button allows you to store the modifications made to the process.
Deactivate
- Use the Deactivate option to temporarily disable a process.
New Version
- Create a new version of the process while keeping the previous versions intact.
Right Sidebar
The Right Sidebar displays the properties of the selected element or connector from the main screen. This panel provides options for configuring both common and specific properties of each element or connector.
When an element or connector is selected, its properties will appear in the Right Sidebar, where they can be modified as needed. Changes are saved when the Save button is clicked.
Common Properties
- Name: A unique identifier or label for the element.
- Description: A brief explanation of the element’s purpose or functionality.
Element-Specific Properties
Events Hub
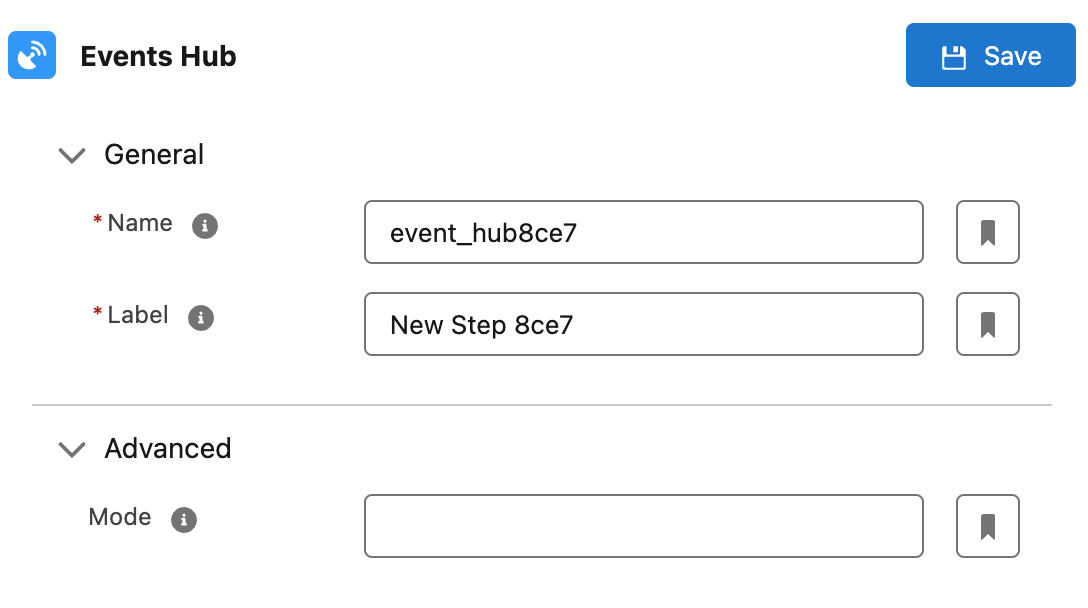
- Mode: Determines how the hub listens for and handles events.
Condition
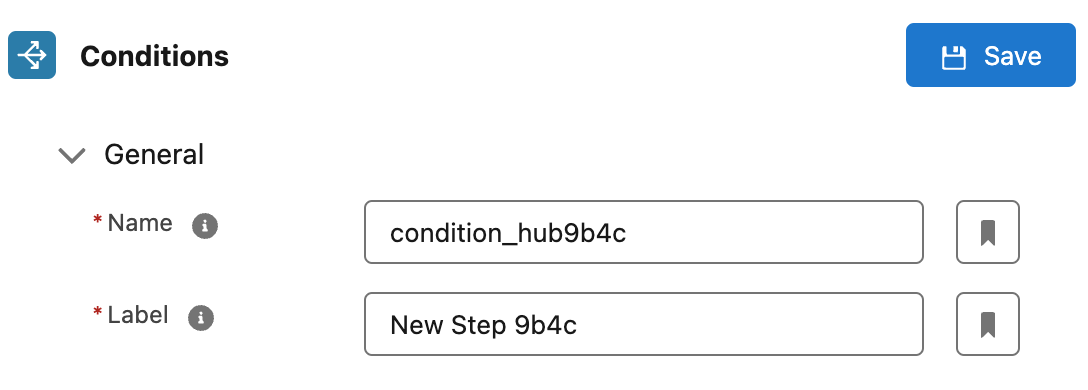
- Does not have additional properties.
- The logic for branching to specific paths is defined within the connectors originating from the condition.
Connectors
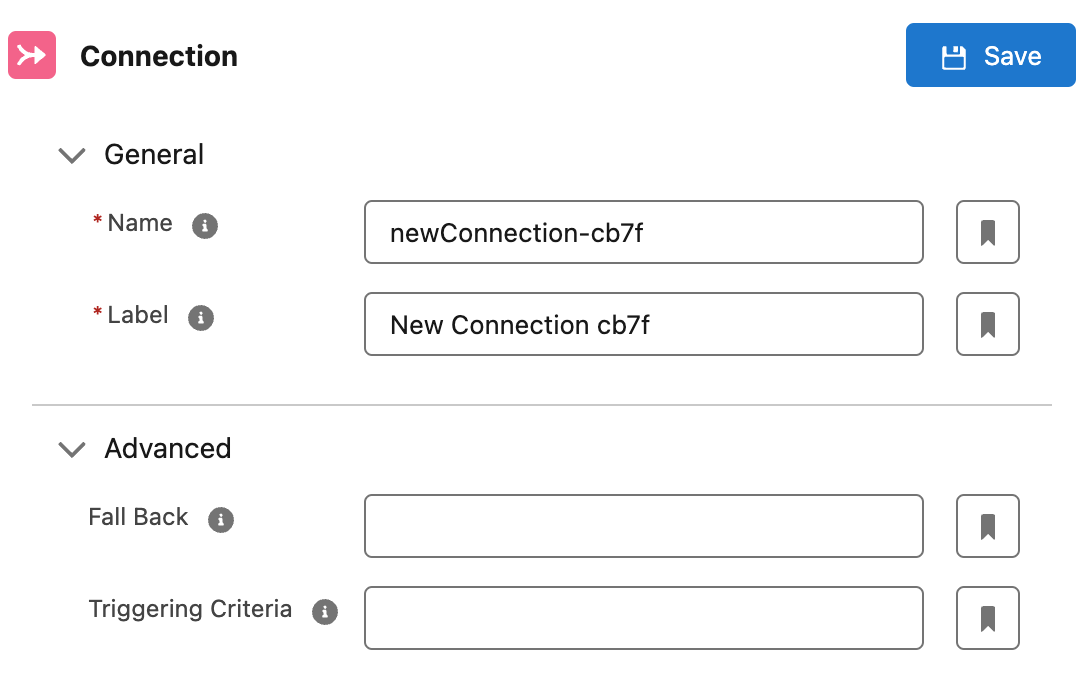
Connectors Between Two Steps
- Fallback: Specifies the behavior if no criteria are met.
- Triggering Criteria: Defines the conditions under which the connector activates.
Connectors Originating from an Events Hub
- Triggering Event: The event that triggers the connector.
- Triggering Criteria: The conditions for activation.
Connectors Originating from a Condition
- Fallback: Specifies the behavior if no criteria are met.
- Triggering Criteria: Defines the conditions under which the connector activates.
Start
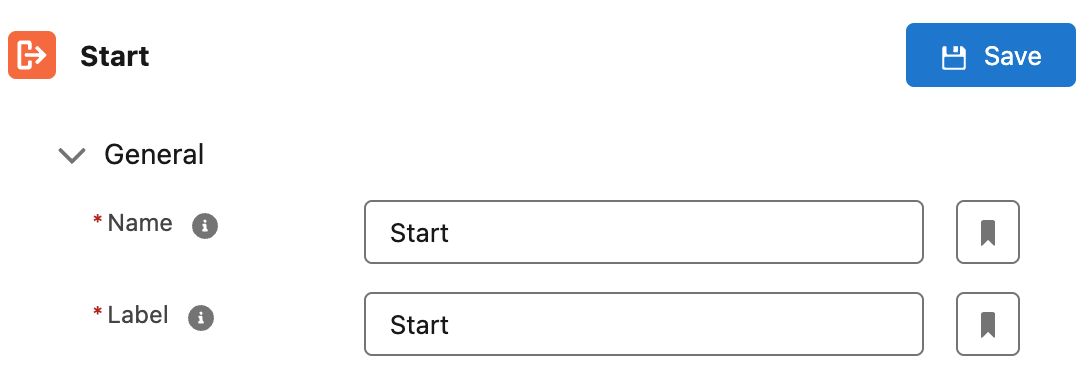
- Does not have additional properties.
End
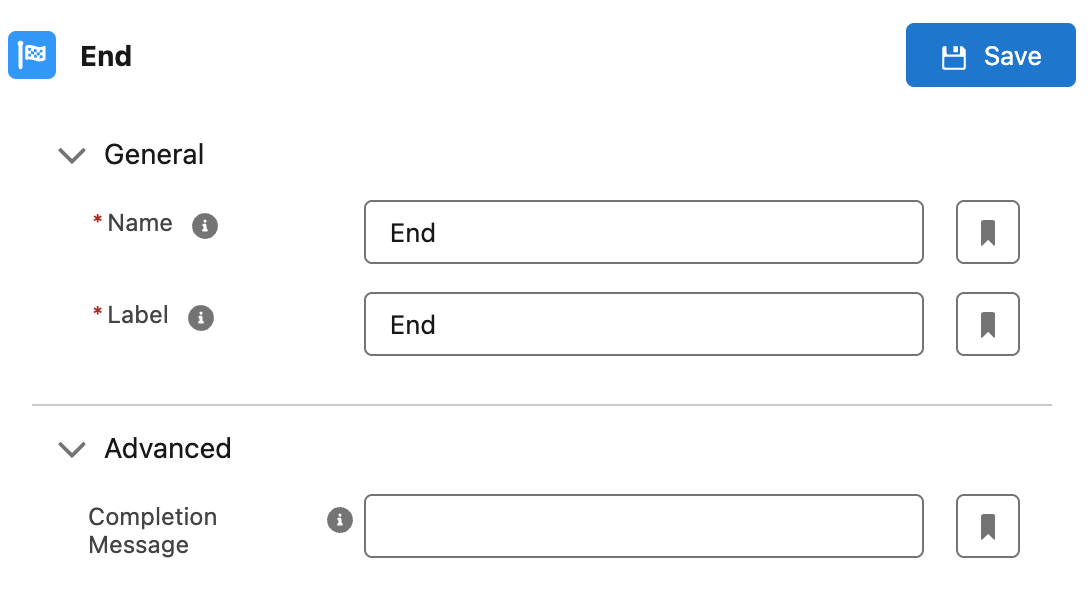
- Completion Message: The message displayed when the process reaches this step.
Steps

Steps are the most complex elements as they define the actions to execute and the execution mode. Below are their properties:
Scheduling
Due Date Unit: Defines the unit (e.g., seconds, minutes, hours, days, weeks, months) for the due date.Due Date Value: Specifies the number of units for the due date.Schedule Unit: Defines the unit for scheduling.Schedule Value: Specifies the number of units for scheduling.
Ownership
- The
Ownership Typedetermines how the step is assigned:- Process Owner: No additional properties.
- Process Record Owner: No additional properties.
- Running User: No additional properties.
- User Field: Requires the
Owner Fieldproperty. - Static User: Requires the
Owner Userproperty. - Queue: Requires the
Owner Queueproperty.
Advanced Properties
Mode: Defines whether the step executes synchronously or asynchronously.Logic: Conditions for the execution of the step.Criteria: Rules for determining the step’s behavior.Process Status: The functional status the process will take when this step is active.
Actions
Steps can include additional actions to execute during their lifecycle, configured in the Actions Section at the bottom of the Right Sidebar:
- Click the Add button to open the Action Picker modal.
- Select the type of action(s) to add.
- Configure the actions as needed.
For more information the actions availables and how to use them, please refer to the Actions Section of this documentation.
